Link Assets to a Functional Location
Objective: Gain an understanding of how to link and unlink Assets to Functional Locations.
Link an Asset to a Functional Location
Navigate to the Functional Location that requires assets to be linked.
While viewing the Functional Location, expand the 'Actions' menu:
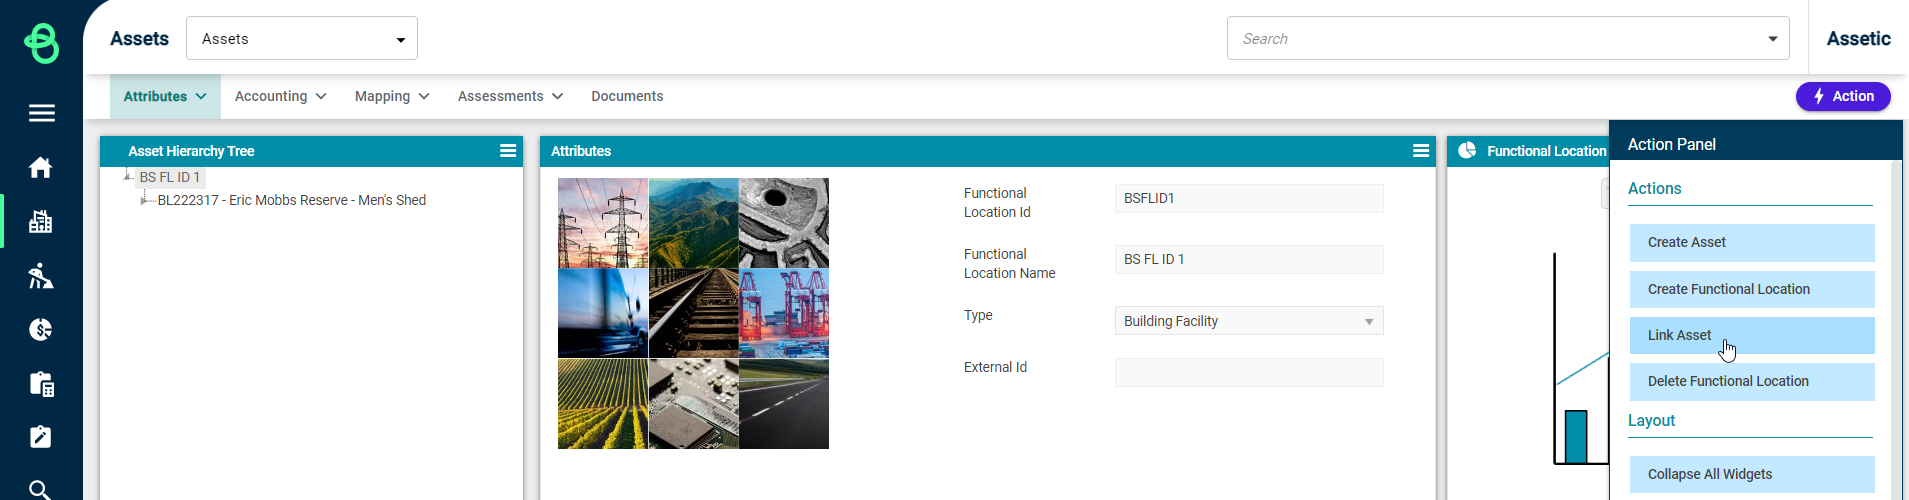
Click on the 'Link Asset' button to link an Asset to this Functional Location. The following window will pop up:
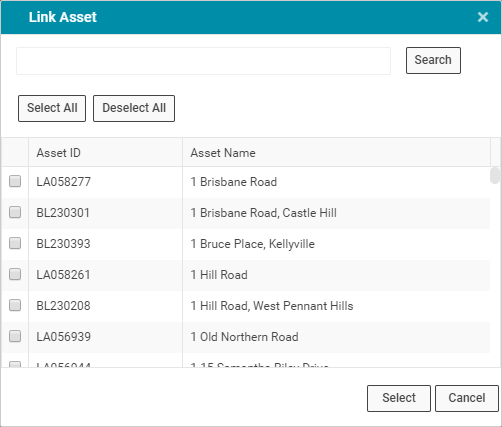
Users can select one or multiple Assets from the available list of Assets, or filter the list by entering the Asset name in the search field and selecting 'Search'.
Once the Asset(s) have been selected, clicking on the 'Select' button links the Asset to the Functional Location and a confirmation message is displayed at the bottom of the page:

Unlink an Asset from a Functional Location
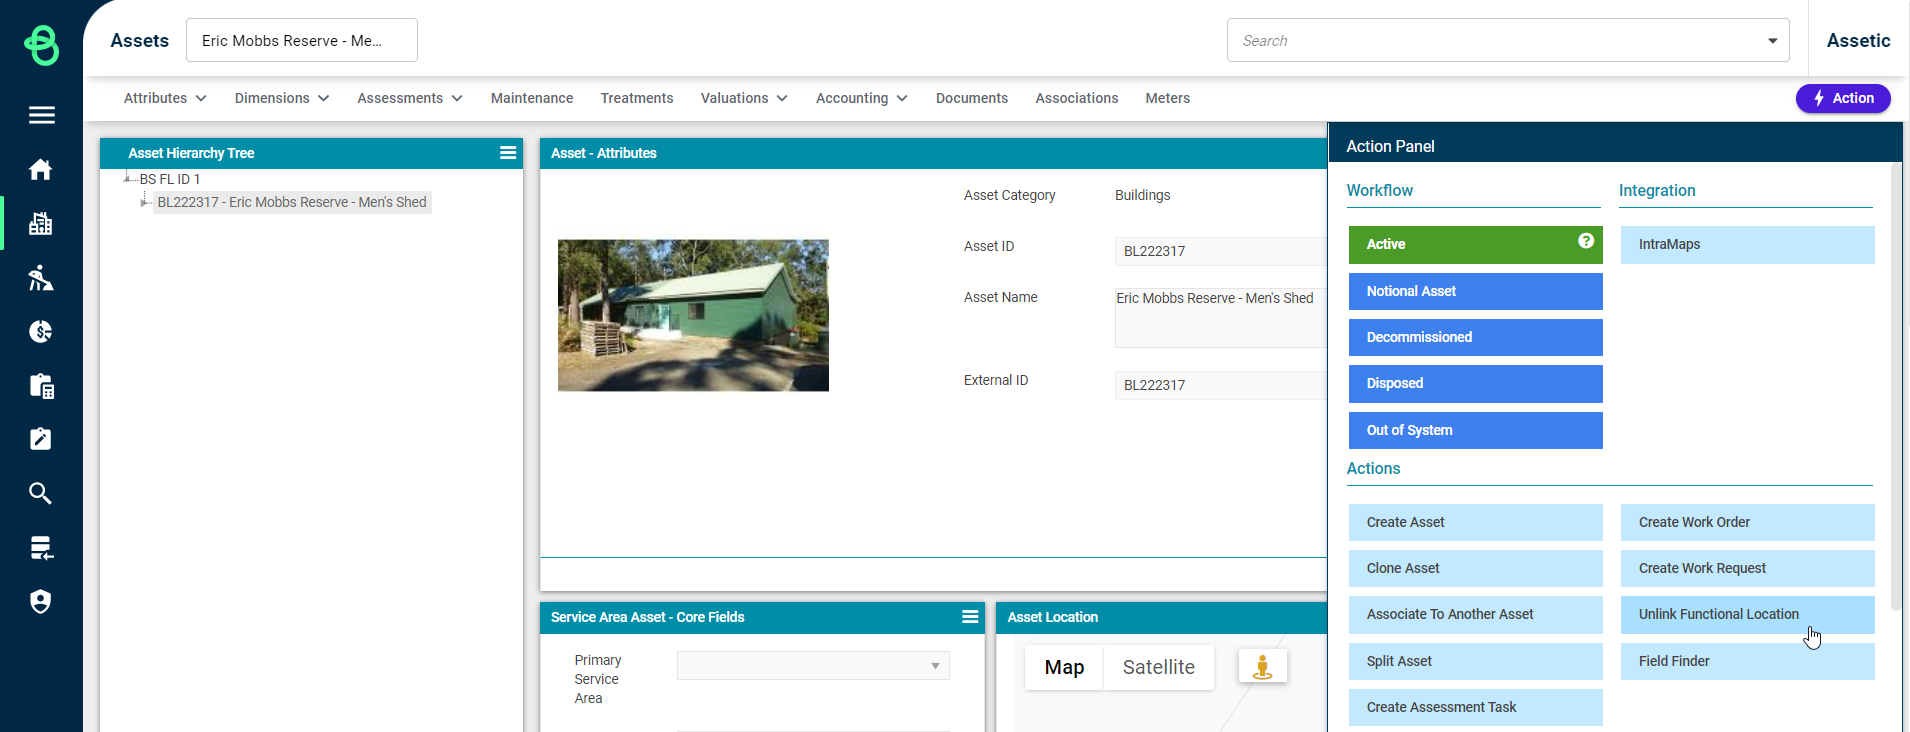
It is also possible to unlink an existing Asset from a Functional Location. While viewing the Asset that requires modifications, click on the 'Actions' menu and select the 'Unlink Functional Location' button:
The following confirmation message is displayed:
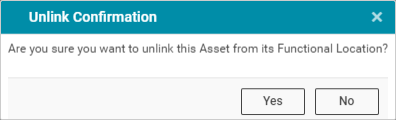
Click 'Yes' and the Asset will be unlinked from its Functional Location.
Linking Functional Locations Using Data Exchange
Creating and modifying Functional Locations links can also be done using the Data Exchange. This has the advantage of allowing users to modify Functional Location relationships in bulk.
Pre-existing Functional Location links can also be overwritten using the Data Exchange process.
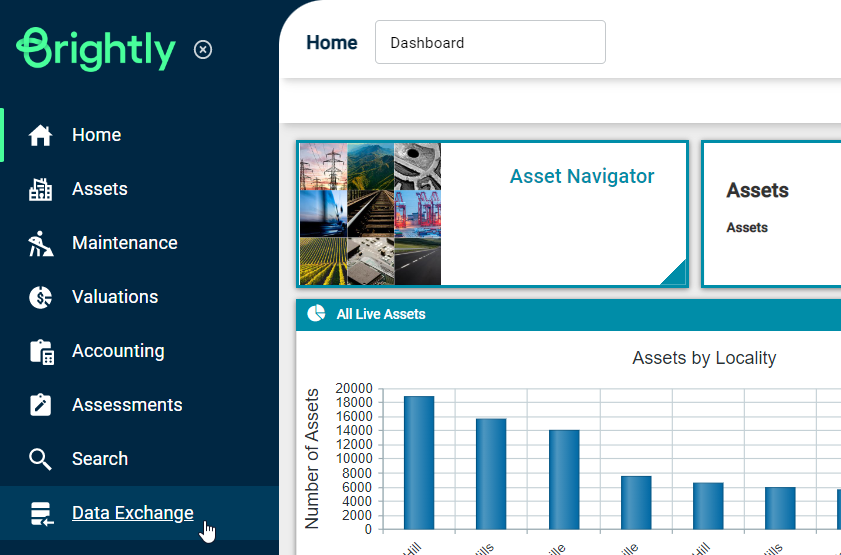
To do this, navigate to Data Exchange in the sidebar menu.
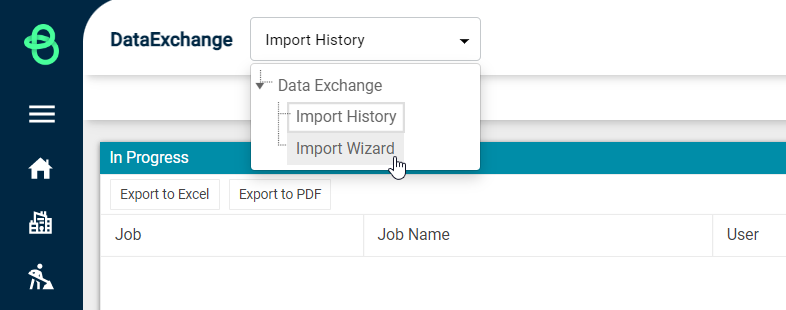
From the secondary navigation menu, select 'Import Wizard'.
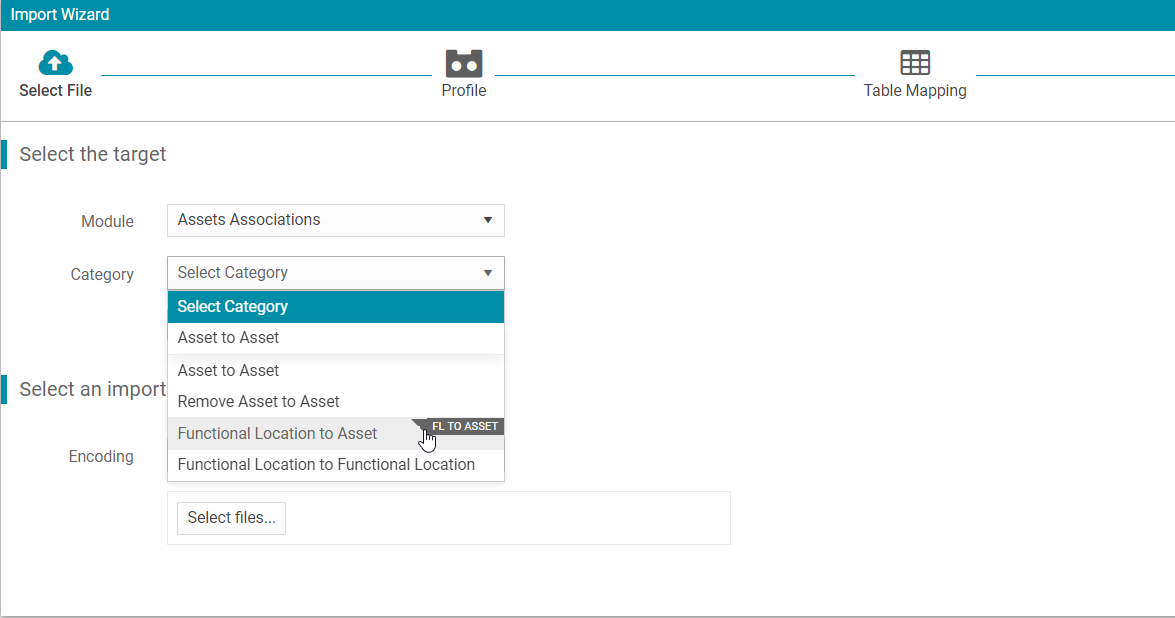
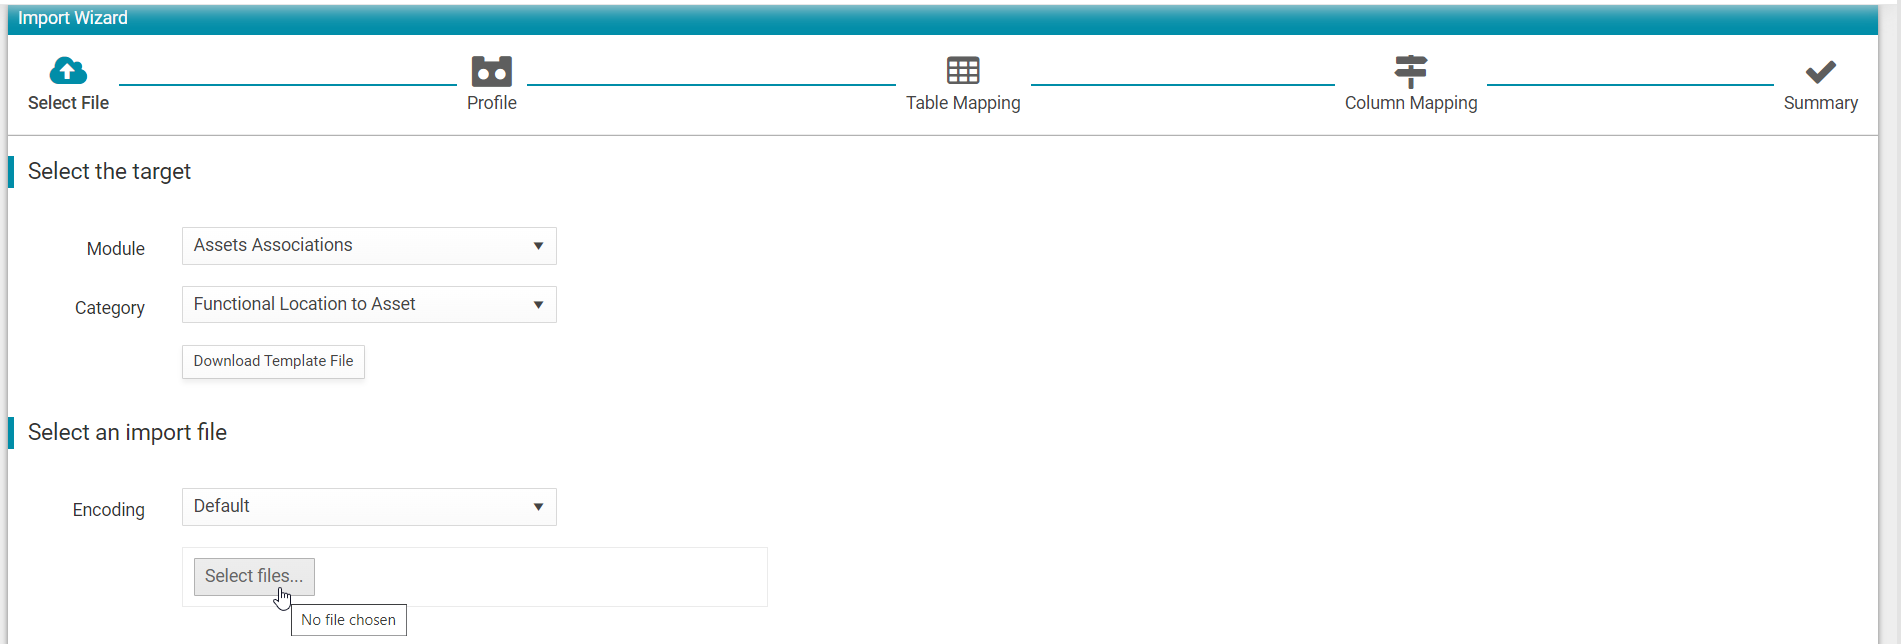
Select 'Assets Associations' from the Module dropdown menu.
Then select either 'Functional Location to Asset' or 'Functional Location to Functional Location' depending on the association requirements.
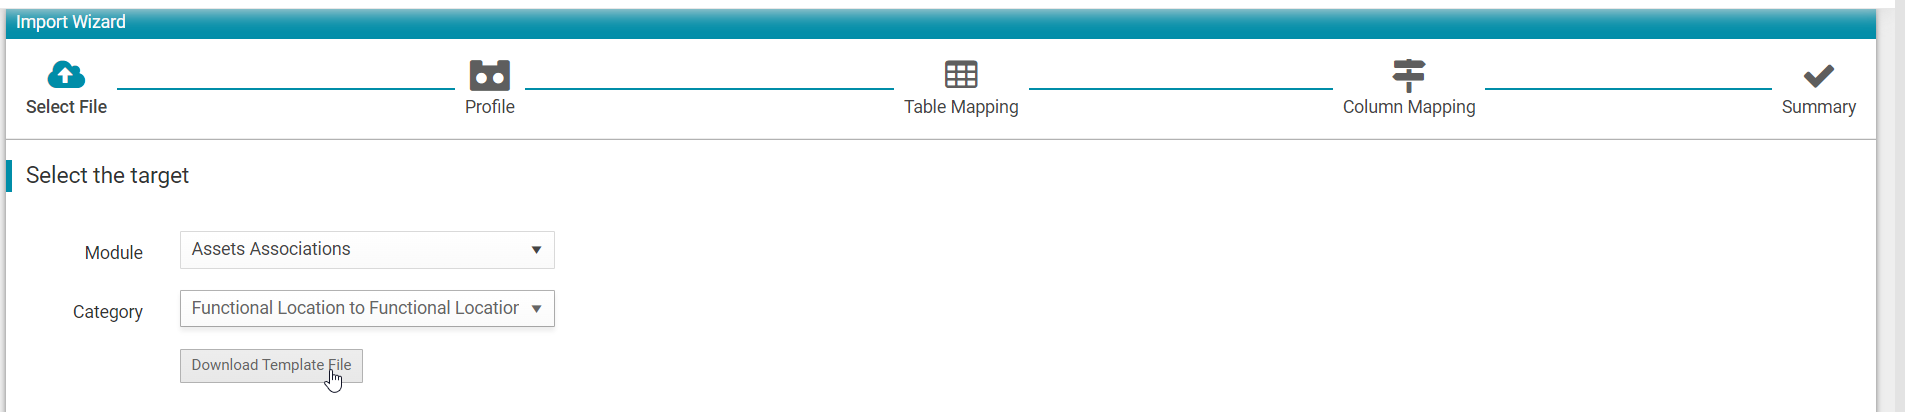
Click the 'Download Template File' button to download the template file and begin populating the import data.
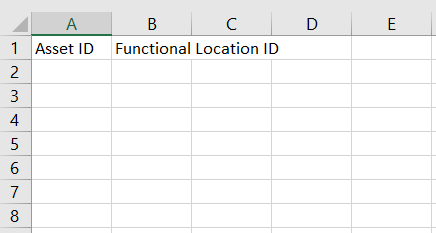
Template - Functional Location to Asset
-
Asset: The ID of an Asset that will be linked as a Child to the selected Functional Location.
-
Functional Location ID: The ID of the Functional Location that will be linked as a parent to the selected Asset.
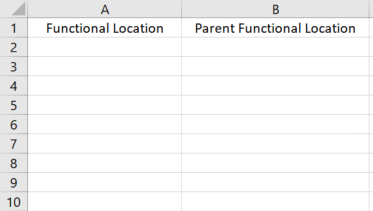
Template - Functional Location to Functional Location
-
Functional Location: The ID of the Functional Location that will be linked as a child to the selected Parent Functional Location.
-
Parent Functional Location: The ID of the Functional Location that will be linked as a parent to the selected Child Functional Location.
Once the chosen template is fully populated, save the template and return to Data Exchange.
Click on the 'Select files' button and select the saved template file.
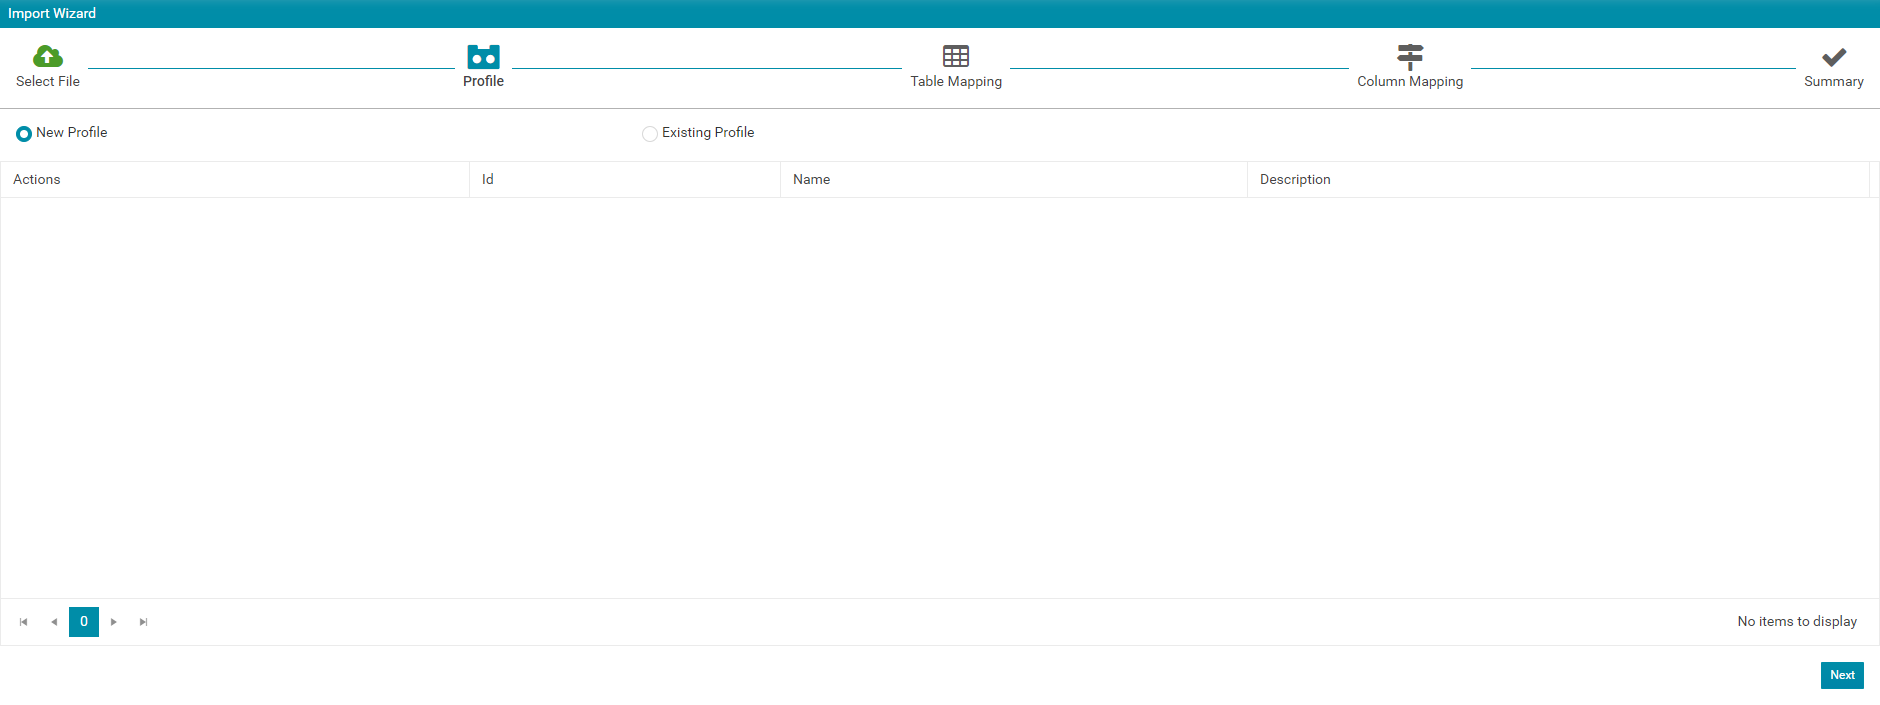
Click New Profile and then 'Next'.
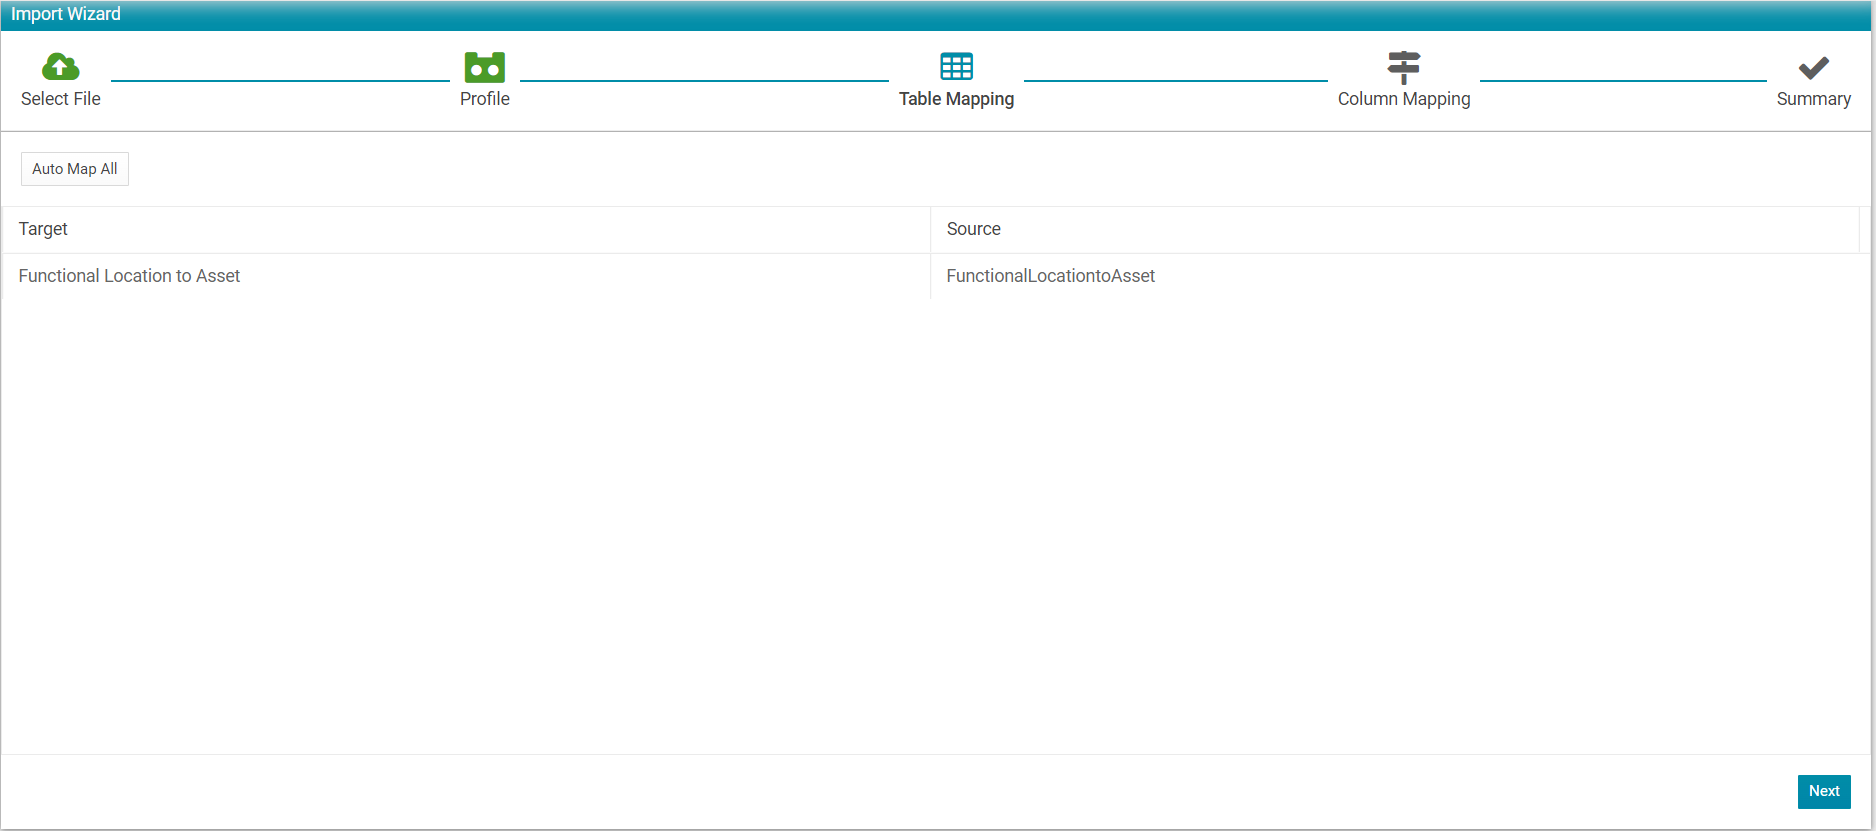
Check that the table is correctly mapped and select 'Next'.
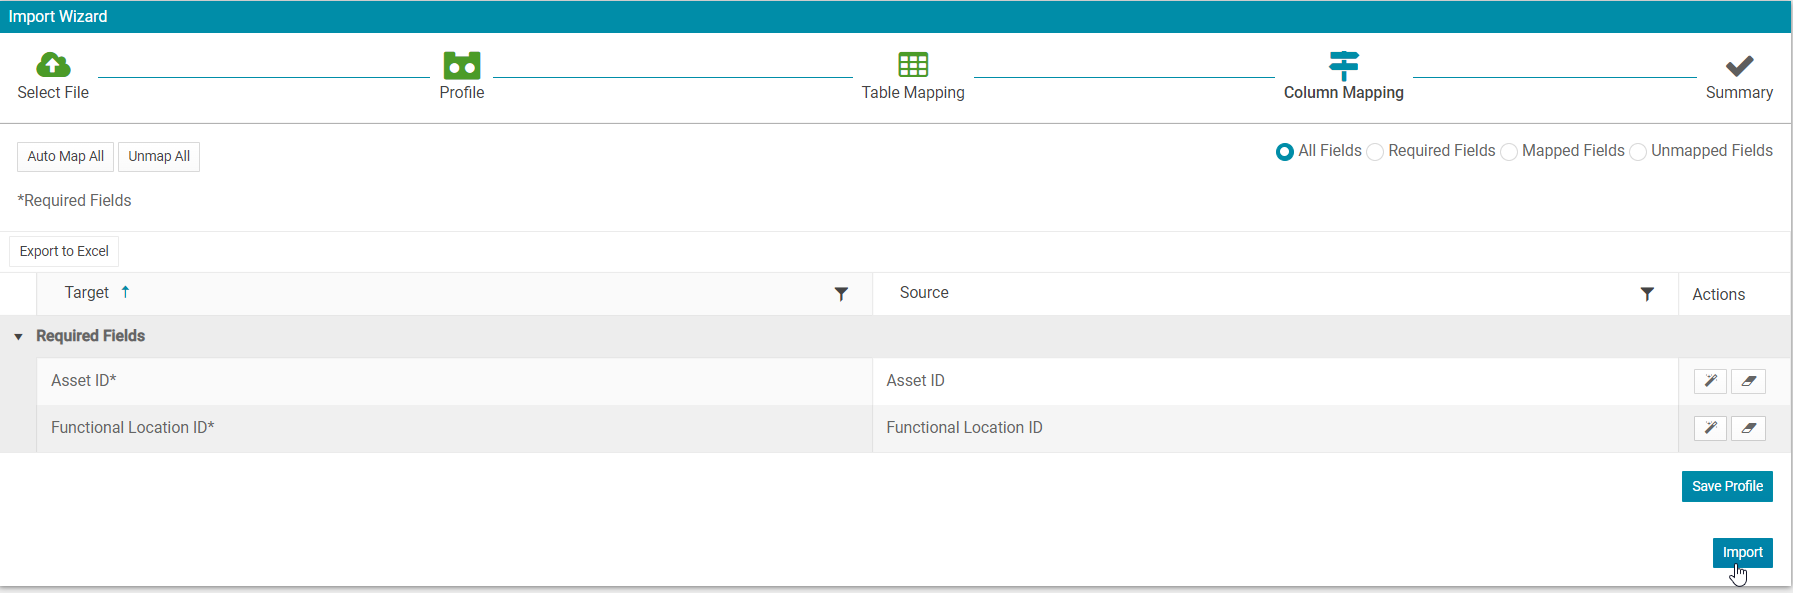
Check that the columns are correctly mapped and select 'Import'.
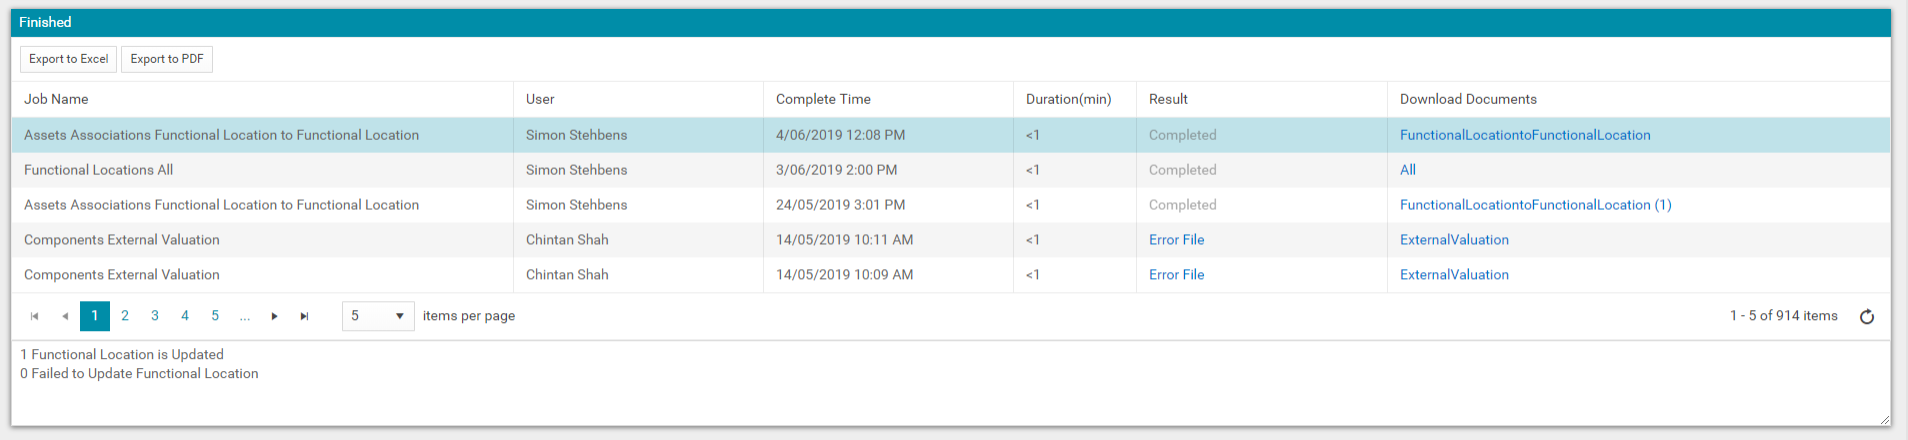
Once the assessment data is imported, select 'View Status' to see if the import has completed without errors.

If there are any errors, click the 'Error File' link to download the initial template upload, with an added column at the end which outlines the error.
Otherwise, if the Result column states 'Completed', all Functional Location data has been successfully uploaded and the Functional Locations links have been applied.
As the Templates available in Data Exchange are in the .csv format and do not have additional information about the field definitions and mandatory field details, an annotated excel version of the same files with related information and sample data is available here.
